A thorough pre-mount check is not an inspection or an audit; it is simply good horsemanship. When you arrive at an unfamiliar yard in another country, it is easy to get caught up in the excitement, meet your guide, and head straight for the stirrup. Taking a few unhurried minutes on the ground to check your tack, read your horse’s mood, and talk with your guide is the quiet difference between fighting your gear for hours and having a great day on the trail.
The Partnership Begins on the Ground
In good stables across Asia, the guides and grooms know their herd inside out. They know which horse will test the authority of a new rider, which one gets worried if another horse crowds its tail on a narrow path, and how each mount handles the tropical heat. Undertaking the pre-mount check isn’t about double-checking the yard’s work—it’s about getting on the same page with your guide and catching small gear issues quietly before you leave the yard.
1. The Quiet Greeting
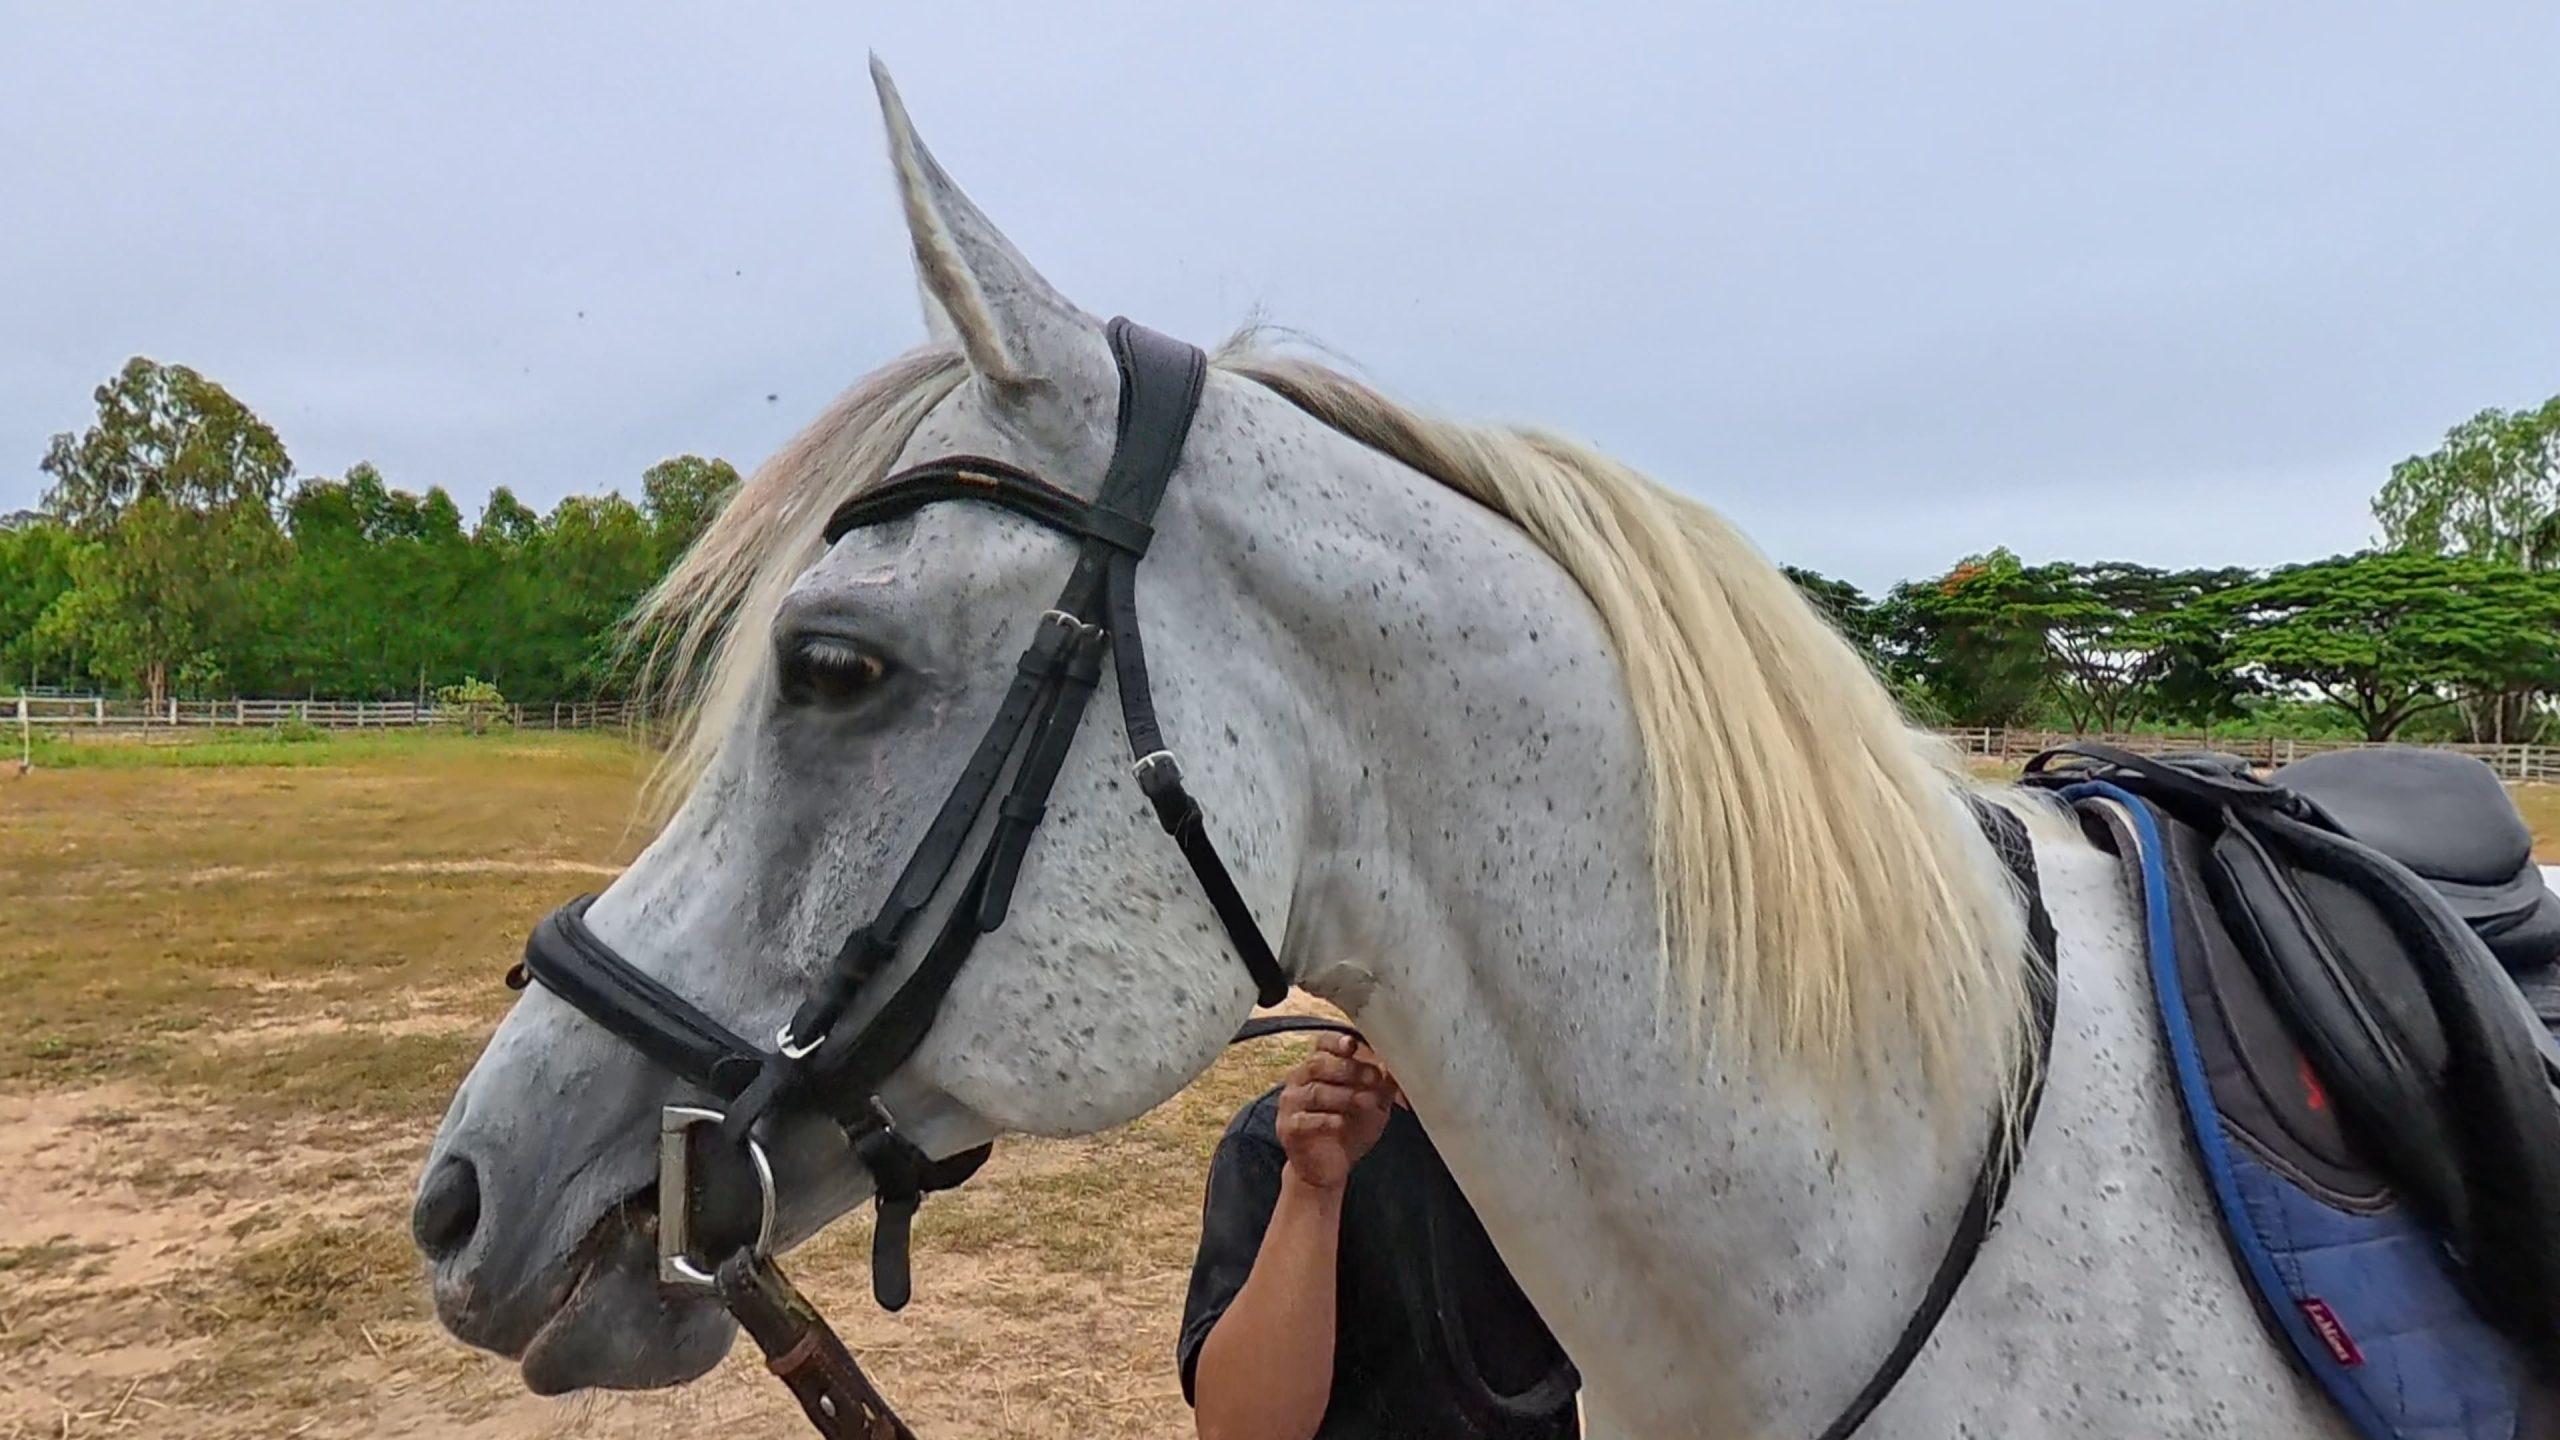
Spend a minute or two standing quietly by your horse’s shoulder before reaching for the reins or the saddle. Look for the small signs: a relaxed mouth, softly blinking eyes, calm breathing, a slightly dropped head, and perhaps an outstretched nose to sniff your sleeve. If your mount stands braced like a statue, holds its breath, or shows the whites of its eyes, it is usually carrying pre-ride tension or anxiety that is worth asking about. Taking this quiet pause lets the horse register that you are a calm, observant partner before your foot ever touches the stirrup.
“Field Check: Look at how the horse is standing. Resting a hind leg on its toe is a sign of pure relaxation. But if a horse keeps pointing a front toe or repeatedly takes weight off a front foot, it is potentially trying to relieve pressure from a sore shoulder, hoof, or tendon.”
2. Checking the Back and Girth Line
Even with the saddle on, you can run flat, warm fingers along the edges of the spine under the saddle panels, and down into the girth groove behind the elbows. You are feeling for heat, swelling, or muscle flinching. In the hot, humid climates of Asia, friction rubs and skin fungus can develop invisibly under damp tack. If the horse dips its back, swishes its tail irritably, or steps away from gentle pressure near the girth line, bring it up with your guide in a friendly way. Ask casually: “How does he like to settle into his tack—is he a little sensitive around the girth, or pretty easygoing when mounting?” A good guide will happily tell you how the horse likes to warm up and if they prefer starting off on a loose rein.
“Field Check: Feel the skin behind the elbows where the girth sits. Look out for old rub marks or thickened skin from previous rides. Tough scar tissue can easily blister in sweat and grit unless the area is clean and protected.”
3. Saddle Balance and Shoulder Room
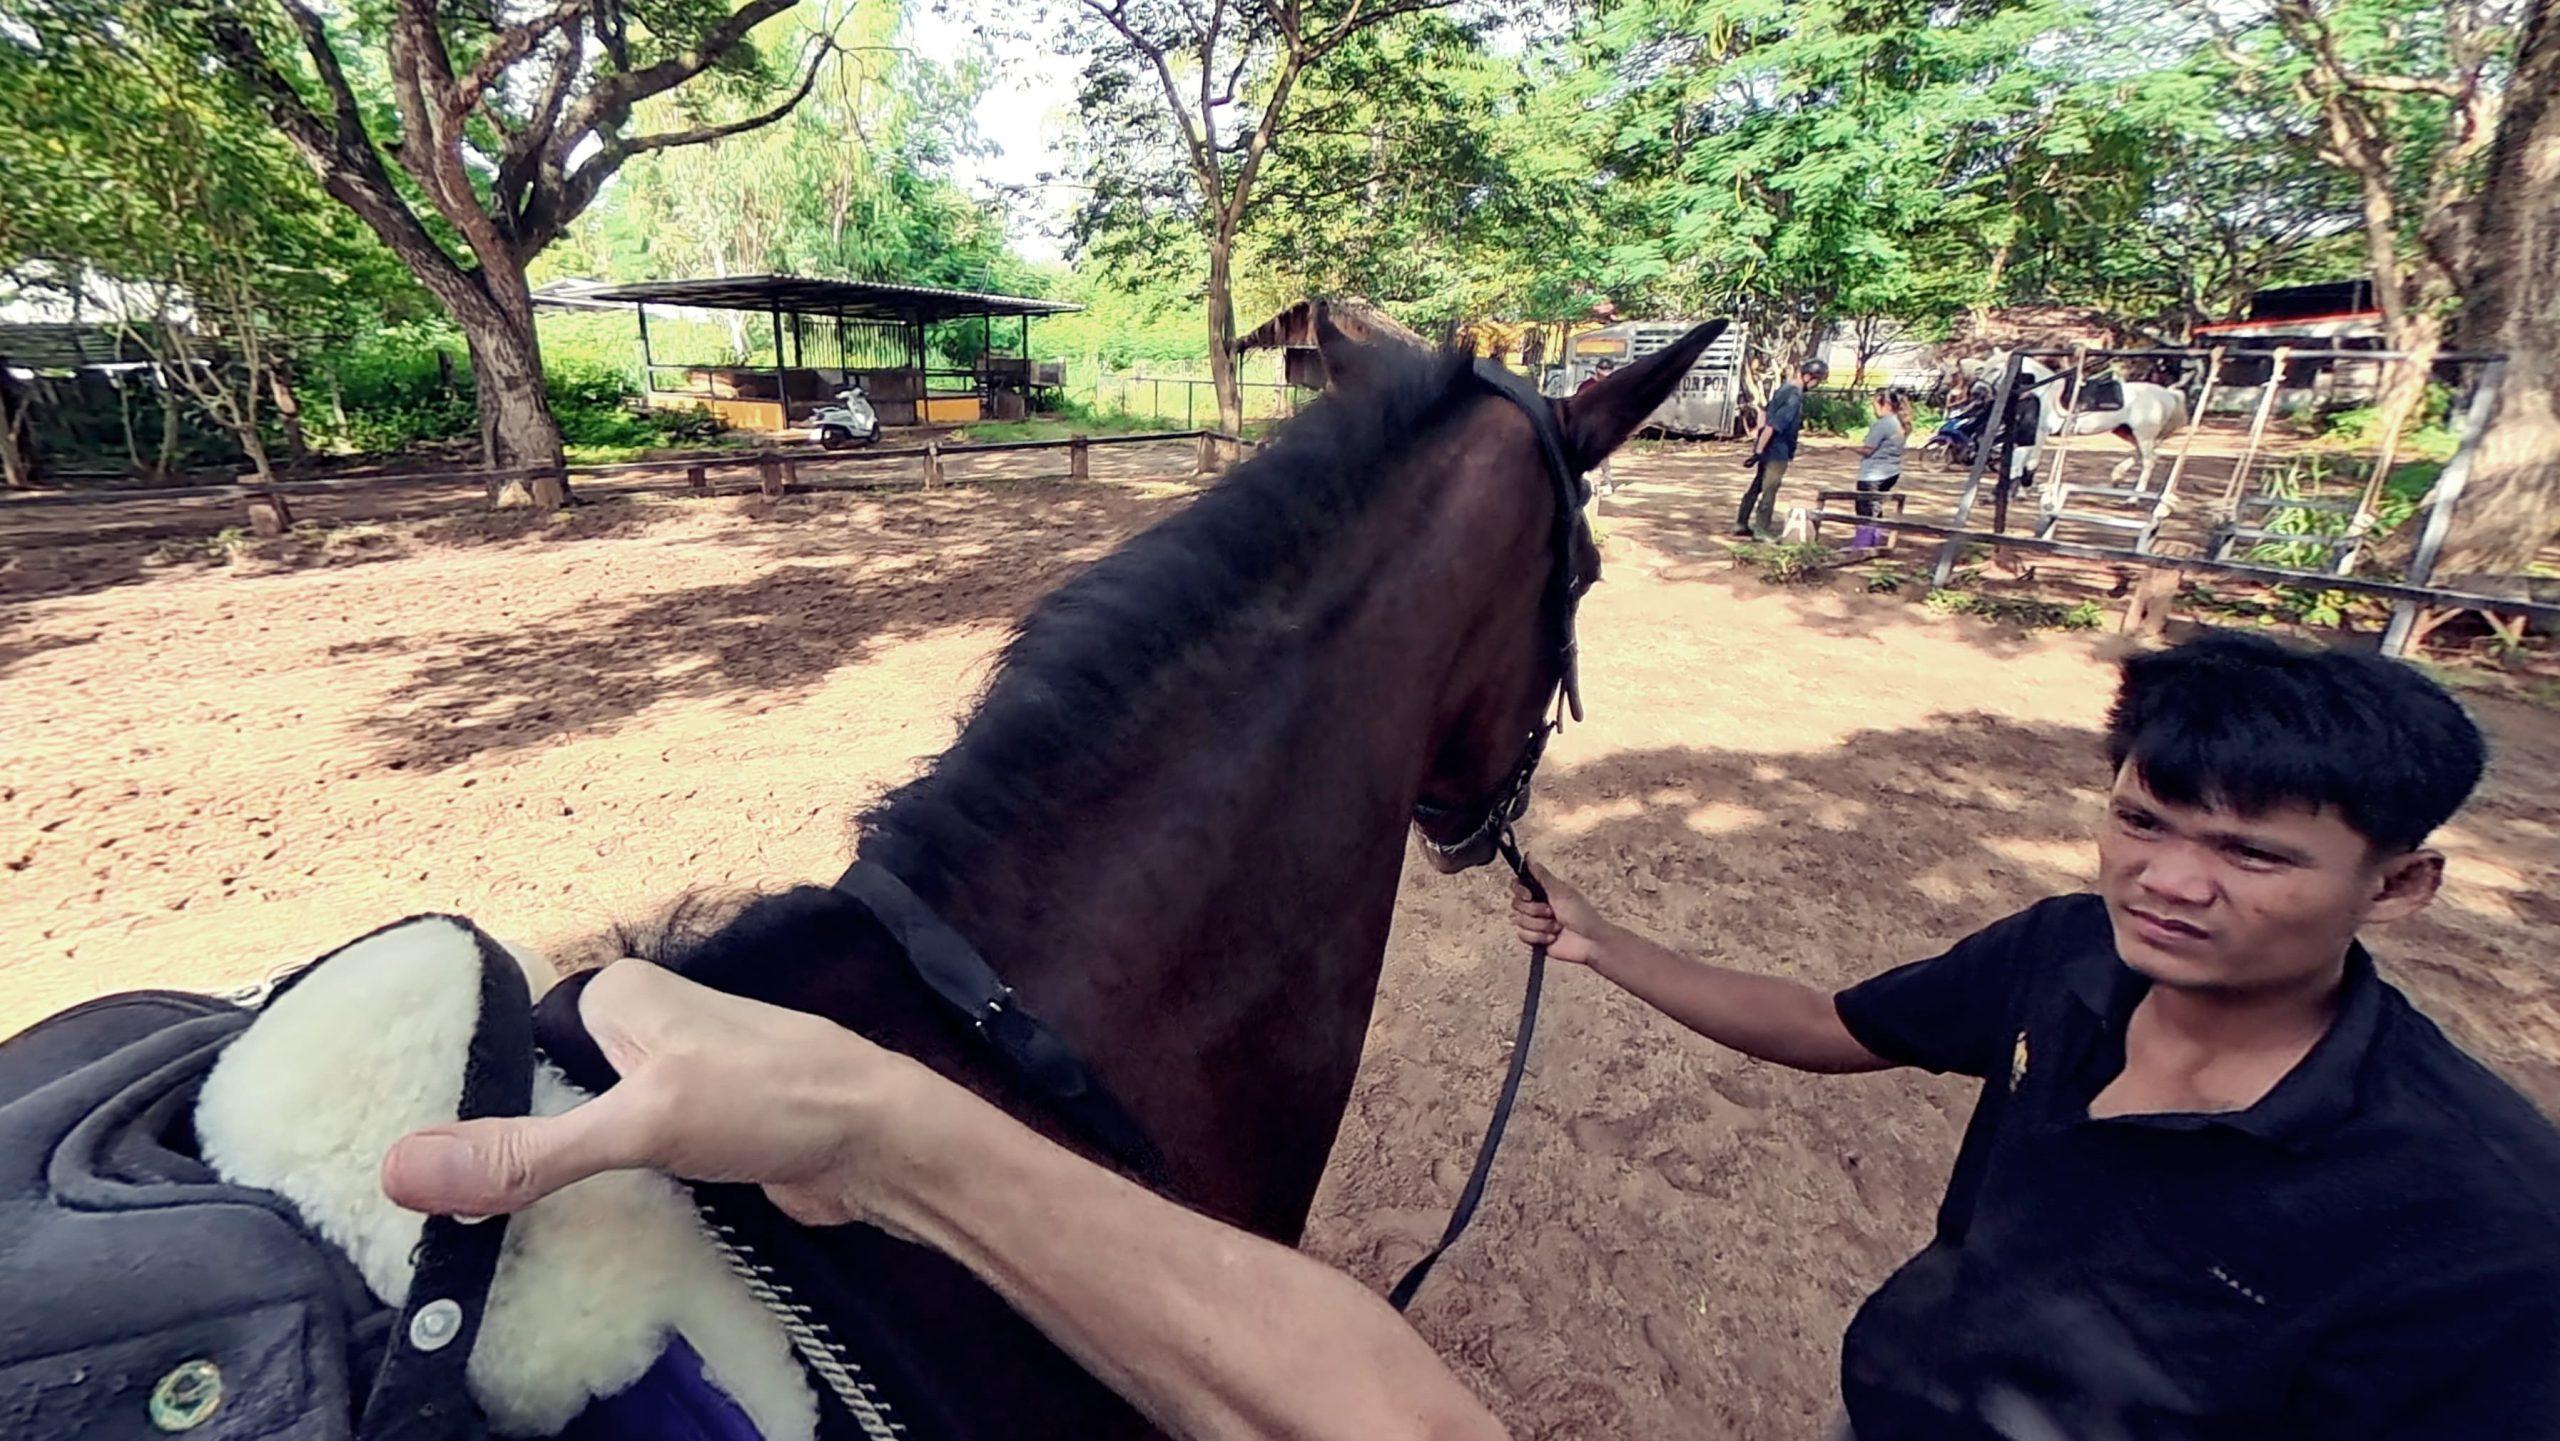
Take a couple of steps back and look at the saddle from the side. The seat should look level and centered. If the back slopes downward toward the tail, your weight will dig painfully into the horse’s loins; if it tilts upward in front, you’ll be thrown backward while the pommel pinches the withers. Next, check for shoulder room: slide your flat hand under the front edge of the saddle, just behind the shoulder blade. You should be able to slide your fingers in comfortably without your hand being pinched. Many trail horses and native ponies have compact backs, and saddles are often placed too far forward. Your horse needs room for its shoulder blade to rotate backward freely with every stride, without bumping into the rigid front edge of the saddle tree.
“Field Check: Place your hand flat in the deepest part of the seat. The lowest point should sit directly over the horse’s middle ribs, well clear of the unsupported lower back where the ribs end.”
4. Tenting the Pad and Checking Wither Clearance
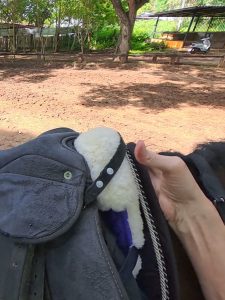
Now look directly at the pommel at the front of the saddle. A properly placed pad should be tented—pulled straight up into the front gullet of the saddle before the girth is tightened so air can circulate along the spine. If the pad is pulled flat and tight across the withers, it acts like a bowstring, sawing against the skin on every step. A pad that has pulled flat is usually a giveaway that the saddle was tacked too far forward or doesn’t fit the horse’s back.
With the pad tented, check your wither clearance: you should be able to slide two or three fingers comfortably between the top of the horse’s withers and the underside of the pommel (and pad). At the back, make sure the channel between the panels is wide enough that the saddle never touches the backbone directly. Be cautious if you see a yard stacking multiple thick blankets or heavy gel pads: that is usually an attempt to make a wide saddle sit on a narrow back, which traps heat and makes the saddle roll from side to side.
“Field Check: Slide your fingers under the back corners of the saddle panels. The pressure against the horse’s back should feel smooth and even—never digging in sharply like a knuckle, and never lifting completely off the back.”
5. Pad Materials in Tropical Heat
Take a moment to check the condition and material of the saddle pad. In high humidity, breathable natural materials like cotton or pure wool felt let heat and sweat escape far better than thick synthetic fleece or heavy neoprene, which trap boiling heat against the muscles. Ensure the pad extends symmetrically on both sides with no folded edges, wrinkles, or bunched corners trapped under the panels. A pad that is stiffened with dried sweat from previous rides will act like sandpaper against warm skin once the horse begins to work. If a pad feels crusty, stiff, or damp before you even start, simply ask your guide for a fresh, clean one—a caring yard will happily swap it out.
“Field Check: Run your finger along the front binding of the pad. Stiff synthetic piping or thick seams trapped directly under the front saddle points can create sore spots on a long, downhill trail.”
6. Girth Fit and Balance
Always check the girth yourself. Slide your flat hand between the girth and the horse’s side just behind the elbow: you should feel a comfortable, snug fit—enough give for two fingers, but not loose enough to roll. It should never be tightened so fiercely that the horse cannot expand its chest to breathe. Check that the girth is buckled evenly on both sides. If one side is buckled on the bottom hole and the other is pulled to the very top, the saddle is being pulled crooked. Horses often tighten their belly muscles when first tacked up out of habit. Once you walk thirty yards, they relax and exhale, and the girth will usually take up another hole cleanly.
“Field Check: Notice the girth material. In high humidity, smooth leather or ventilated waffle-weave girths wipe clean and prevent skin rubs. Unwashed, sweat-stiffened cotton girths will quickly cause painful friction rubs against warm skin.”
7. Bridle, Bit, and Reins
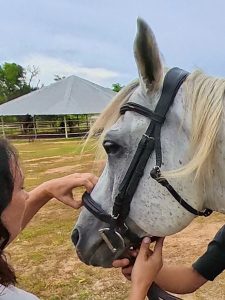
Look for symmetry in the bridle. The bit should sit level in the mouth, resting comfortably at the corners of the lips with one or two soft, relaxed wrinkles—not pulled up into a tight grin, and not hanging so low it bangs the teeth. Gently slide the bit side to side to ensure it moves freely without pinching the cheeks or tongue. Check the noseband: you should be able to slip two stacked fingers easily underneath so the horse can lick, chew, and swallow comfortably. The throatlatch under the jaw should be loose enough to fit four fingers so it doesn’t press against the windpipe when the horse lowers its neck. Finally, trace your reins from your hands straight down to the bit to make sure they aren’t twisted or tangled in other straps.
“Safety Check: Give the leather loops or buckles where the reins connect to the bit rings a quick, firm tug. In tropical humidity, rein ends absorb sweat and saliva; verifying that the stitching is tight and the fasteners are secure ensures you won’t face a detached rein on a steep downhill trail.”
8. Asking Your Guide the Right Questions
Good guides love talking about their horses. Take a moment to ask a few practical questions that show you want to work with the horse’s personality: “How does he like to be ridden—does he prefer a light, loose rein, or does he like steady contact?” “Is he happiest at the front of the group, or does he prefer following behind another horse?” “Does he mind passing water buffalo or motorbikes, or does he look at things along the trail?” These aren’t test questions; they are how you learn your partner’s habits before you leave the yard.
“Guide Tip: Ask about the ride home: “Does he speed up or get marchy when we turn back toward the barn?” Knowing this in advance helps you stay relaxed and use your seat and balance to manage the pace, rather than getting into a tug-of-war with the reins.”
9. Stirrup Length and Leather Safety
Never head out with stirrups left at someone else’s length. The classic trick of measuring the stirrup against your arm gives you a starting point, but on a trail ride, it usually falls a couple of inches short. For long hours outdoors, you want a comfortable, shock-absorbing length: long enough to let your legs drape naturally around the horse’s barrel, yet short enough that you can easily stand in a light two-point seat to relieve your horse’s back on steep climbs.
If the leathers run out of holes and leave you feeling cramped, do not just accept it and ride with your knees bent up like a jockey. Riding for hours with your stirrups too short puts excruciating torque on your knees and hips. Simply ask your guide or groom for a longer pair of leathers before you leave the yard—it takes two minutes to swap them over. While adjusting, give the leather a quick check: make sure the stitching around the buckles is tight and the holes aren’t stretched or tearing. If the stirrup irons feel narrow on your boots, ask for a wider pair; you want half an inch of room on either side so your foot can never get caught.
“Field Check: Check the stirrup treads. If riding with safety cage stirrups or wide endurance pads, make sure they are clear of dried mud so your boots sit level and release freely if needed.”
10. The Walk-Away and Final Check
Whenever possible, use a mounting block, a solid rock, or a bank to get on. Mounting from a block protects your horse’s back and keeps the saddle from pulling sideways. Once in the saddle, sit quietly for five or ten seconds before asking for a walk. Walk your horse thirty yards around the yard. Use this rolling walk to feel what you couldn’t see from the ground: Does the saddle roll or tilt? Does the horse step out freely through its shoulders, or does it feel stiff and hesitant? Stop quietly, reach down, and feel the girth again. Almost always, you will find the girth has loosened and can take up one more hole smoothly.
“Field Check: If the saddle feels crooked or slips during those first thirty yards, get off and straighten it now. Fixing it on flat ground in the yard takes thirty seconds; trying to adjust a slipping saddle on a narrow, muddy jungle path is an avoidable risk.”
A Culture of Collaboration
A confident rider approaches a pre-mount check with warmth and curiosity, never suspicion. Asking a guide, “He seems a little sensitive around the girth today—does he prefer an easy, unhurried walk to settle in?” or “Do you mind if I take the girth up a notch on the off-side to keep the saddle centered?” invites the local team into a shared conversation rather than an audit. If a genuine welfare or tack concern is brushed aside, it is completely reasonable to pause or ask for a different horse. A good operator will never take that personally; they will respect a guest who rides with quiet, observant horsemanship.
Great stables across Asia are deeply proud of their horses and love welcoming guests who appreciate the craft. Taking those few unhurried minutes before mounting shows respect for the local team, protects the horse beneath you, and sets the stage for a wonderful ride.